


Features:
USB Type-C PD Chargers
USB Type-A Chargers
Multi-Port USB Chargers
Integration-Ready Charging PCBAs
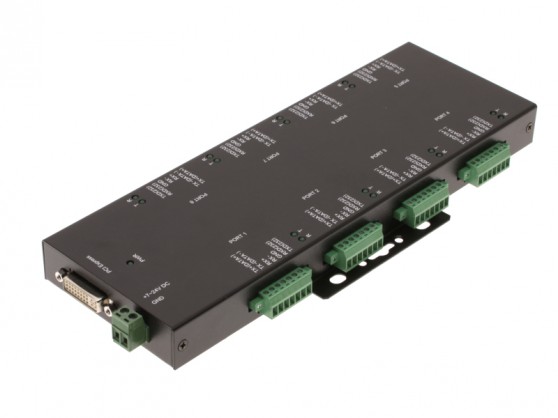
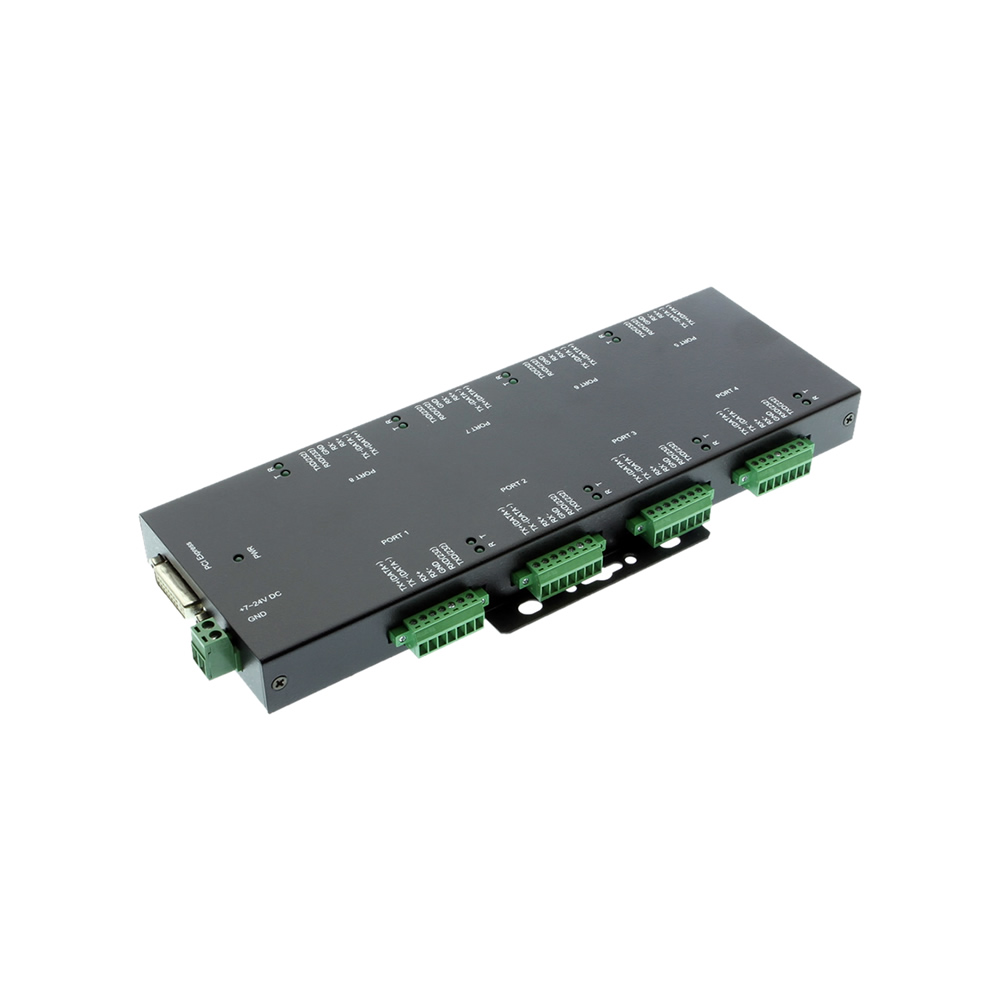
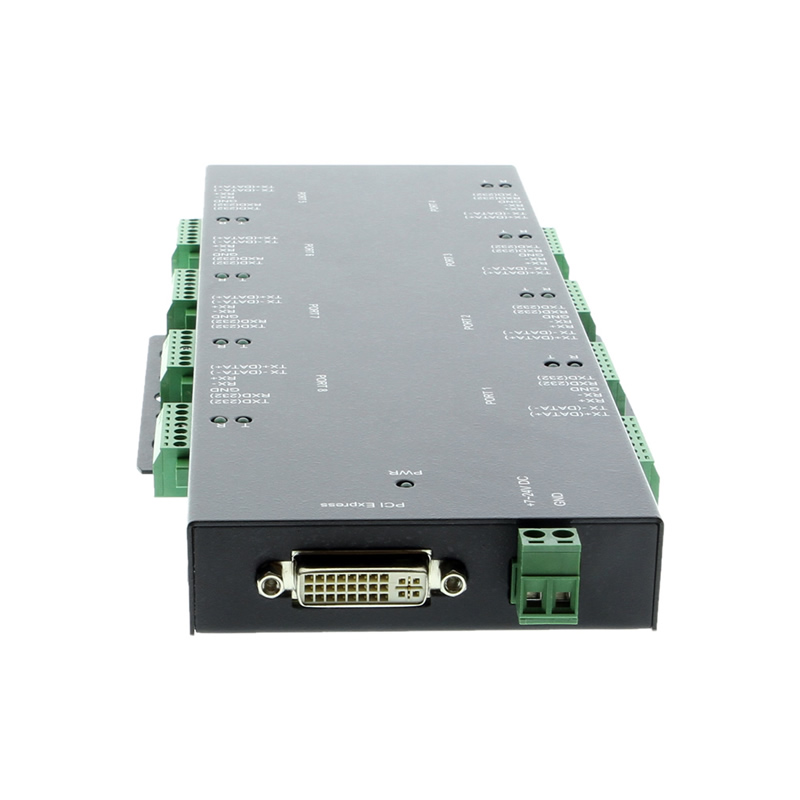
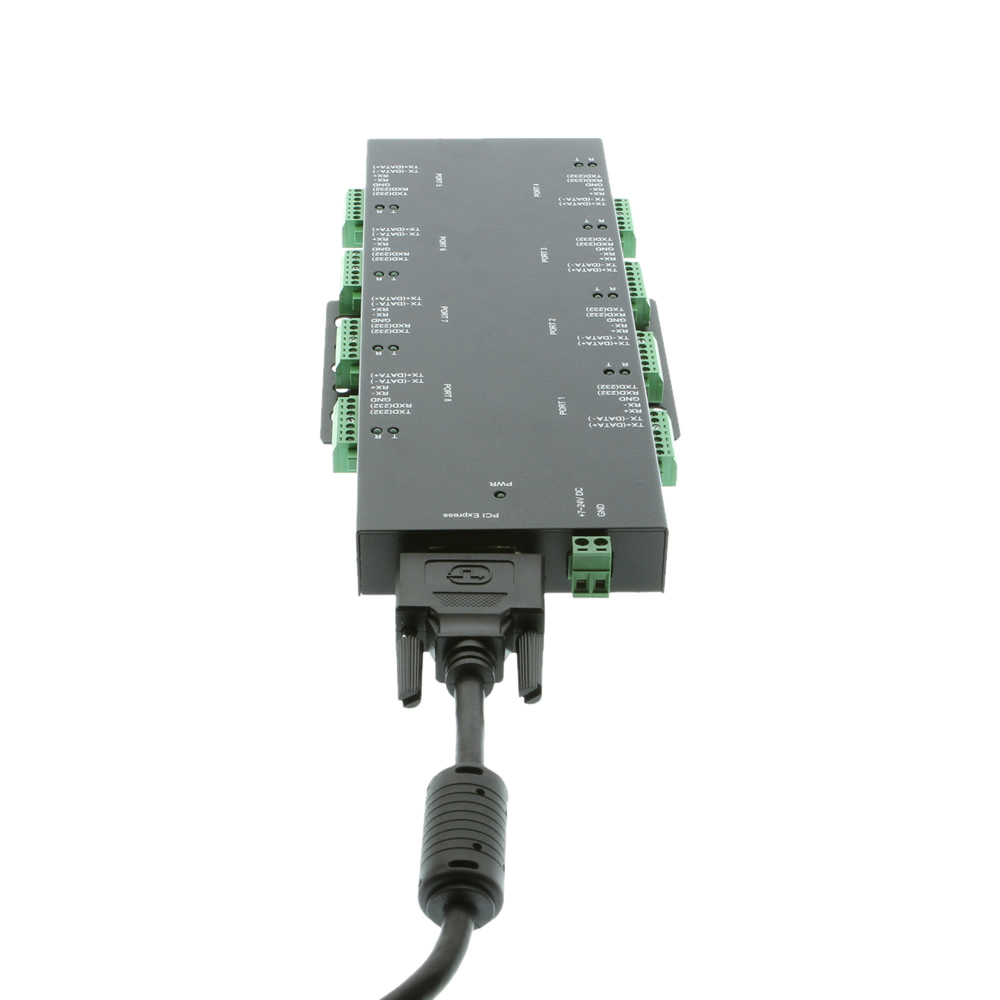
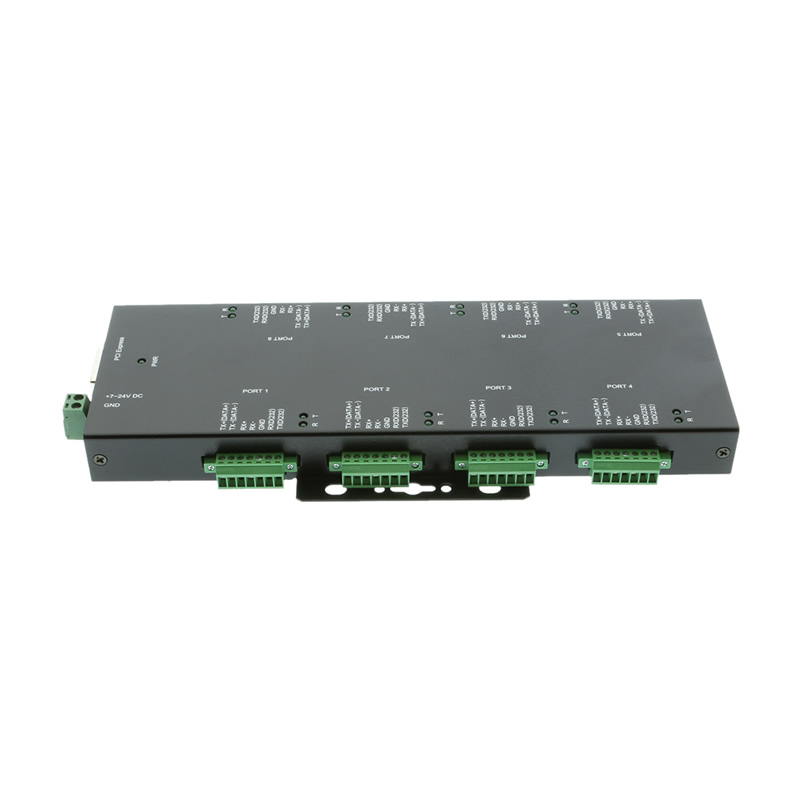
The SG-PCIE8SRS422485MODIS Isolated 8 Port PCI Express Module provides instant RS232, RS422, and RS485 serial port expansion via the PCI Express bus to the external module with Terminal Block.
The SG-PCIE8SRS422485MODIS is an Optically Isolated RS232 /422 /485 8 port PCI Express Module Box and is designed to accommodate various digital signaling for your serial communication input/output applications.
The 8 Port PCI Express Module provides instant RS232, RS422, and RS485 serial port expansion via the PCI Express bus to the external module for PC, workstation, thin client, or server. It supports applications that need some combinations of all signal connections in one single PCIe slot, includes Surge Suppression circuitry.
This 8 Port PCI Express Module Box provides a highly scalable serial interface with high-speed data transmission to your equipment’s serial I/O bus. Backward compatibility with PCI applications and drivers is a key feature when using various digital signal connections. Its architecture defines a high-performance, point-to-point, serial bus at speed of 250Mbytes/sec to 4GBytes/sec.
The SG-PCIE8SRS422485MOD is compatible with new and legacy RS232, RS422, RS485 devices demanding high-speed transmission; this includes future speeds of up to 8Gbytes/sec.
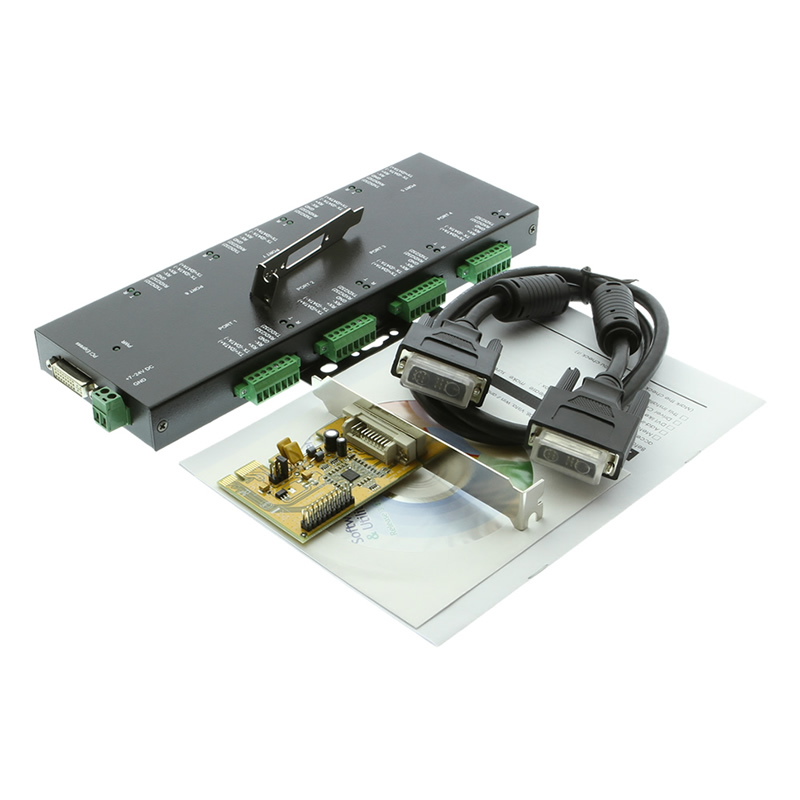
Using Plug-and-Play installation features simply follow the instructions of Install Wizard to start using your additional serial ports. The PCI Express Module provides the versatility needed to quickly adapt to new serial technologies.
Coolgear’s complete product line of PCI Express Cards offer many choices to help expand your serial applications and allow your network to grow with your requirements. The terminal blocks enable you to easily install your wires for different devices in a straight forward process making an ideal solution for your serial projects.

Additional Features & Specifications:
System
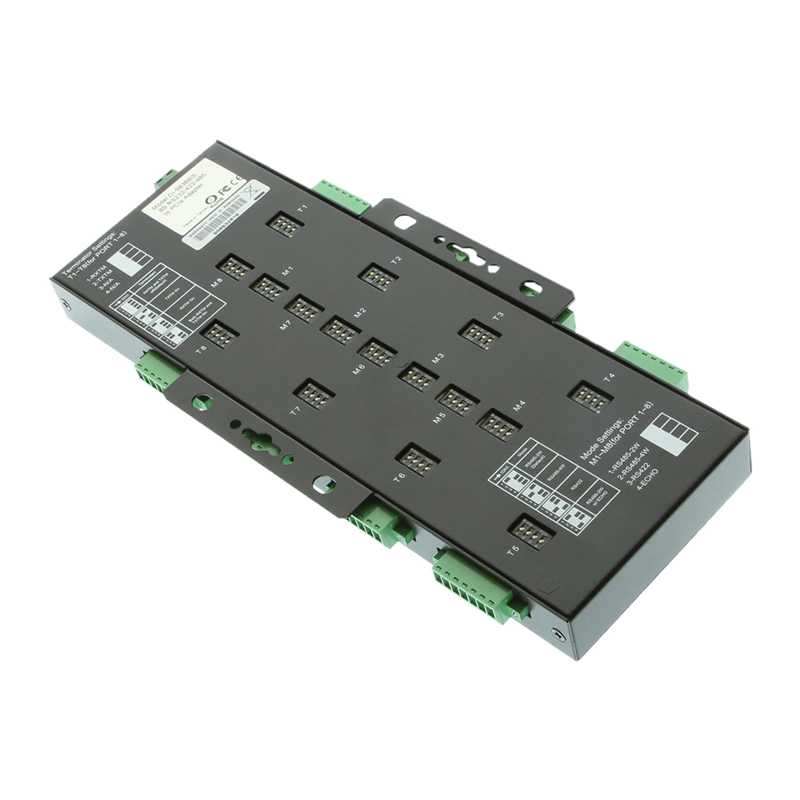
Terminal Block Serial Ports
Provides 8 7-pin terminal block connector RS232/422/485 ports, the key benefits are:
I/O Hardware
OS Support
Environmental Specifications
Operating Temperature: 0 to 55°C (32 to 131°F), 10% to 90% relative humidity (non-condensing)
Storage Temperature: -40 to 75°C (-40 to 167°F), 5% to 95% relative humidity (non-condensing)
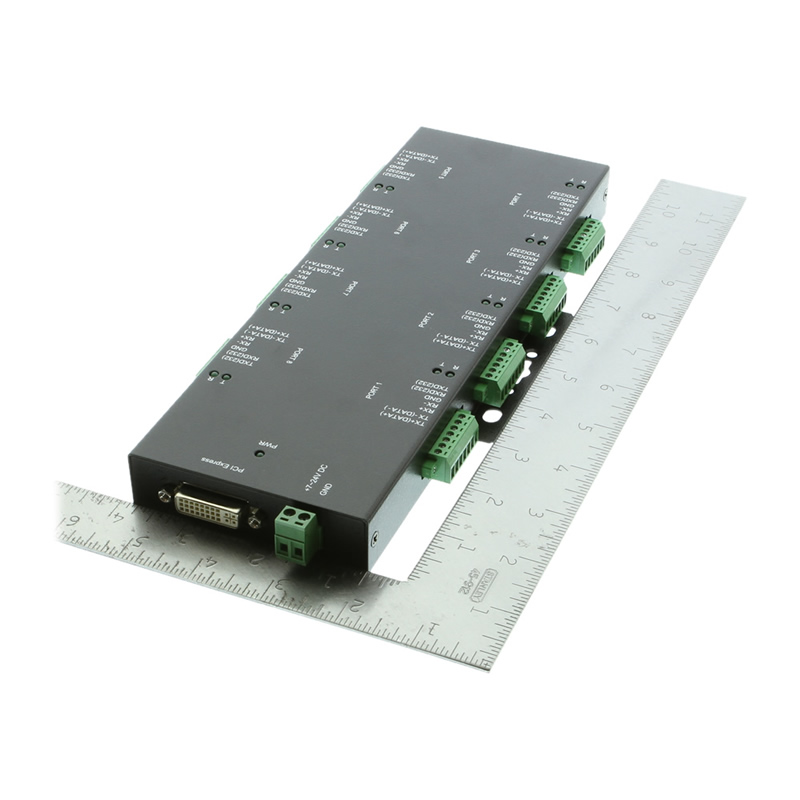
Form Factor (without ears and connectors)
*Surface Mounting screws not included.
| Compliance |
| ||||||||||||
|---|---|---|---|---|---|---|---|---|---|---|---|---|---|
| Physical Characteristics |
| ||||||||||||
| Serial Attributes |
| ||||||||||||
| Software |
| ||||||||||||
| Environmental |
| ||||||||||||
| Product Information |
| ||||||||||||
| Performance & Safety |
| ||||||||||||
| Other Data |
|
Did you misplace or break a part that came with your item? Purchase it here!

Model# CG-2PPW
$2.99In stock
View frequently asked product questions below. For all serial troubleshooting, visit this page.
Still need help? Reach out!
Most of our single and dual-port models are USB bus-powered. High-density rackmount models (8-port+) feature integrated or external power supplies for maximum signal integrity.
Isolated adapters use optical barriers to physically separate the electrical signals. This protects your computer from 2,500V surges and ground loops common in factory environments.
Yes, all Coolgear Serial adapters use modern FTDI or Silabs chipsets with WHQL-certified drivers for full Windows 11, Mac, and Linux support.
COM Port Retention ensures that your assigned COM port number remains the same every time you plug in the adapter or reboot your PC. This prevents software communication errors and eliminates the need to manually reconfigure your application settings whenever hardware is moved.
Test your components by:
When testing cables:
When testing serial ports and devices:
Note: You are required to restart your computer after disabling the Driver Signature Enforcement. Save all open work on your computer.
Disable driver signature enforcement:
When your system restarts:
When your computer restarts, Driver Signature Enforcement will be disabled and you can install the drivers.

Model# USB-COMiPLUS
$70.49In stock

Model# USB-16COM-RM
$491.99Not in stock - Backorder allowed

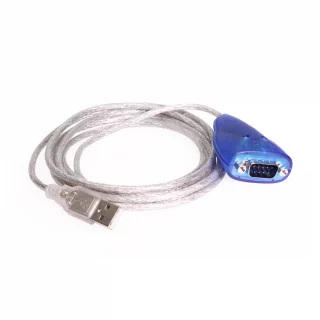
Model# XC-232-C
$68.99In stock

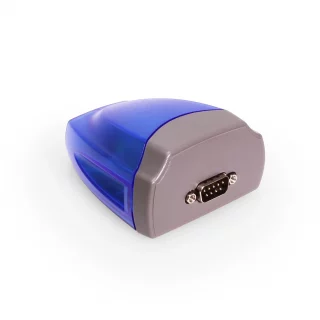
Model# USBG-232MINI
$27.29In stock

Model# USB-COMi-TB
$73.99In stock

Model# USB-4COMi-M
$211.99Out of stock

Model# USBG-2COMi-SI-M
$221.99In stock

Model# USBG-COMi-M
$87.49Out of stock
Need help with a Coolgear product you’ve purchased? Get product support from our on-site engineers.
Contact our sales team for assistance before you buy a Coolgear product.


Reviews
There are no reviews yet.