


Features:
USB Type-C PD Chargers
USB Type-A Chargers
Multi-Port USB Chargers
Integration-Ready Charging PCBAs
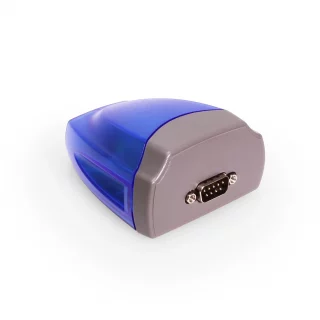
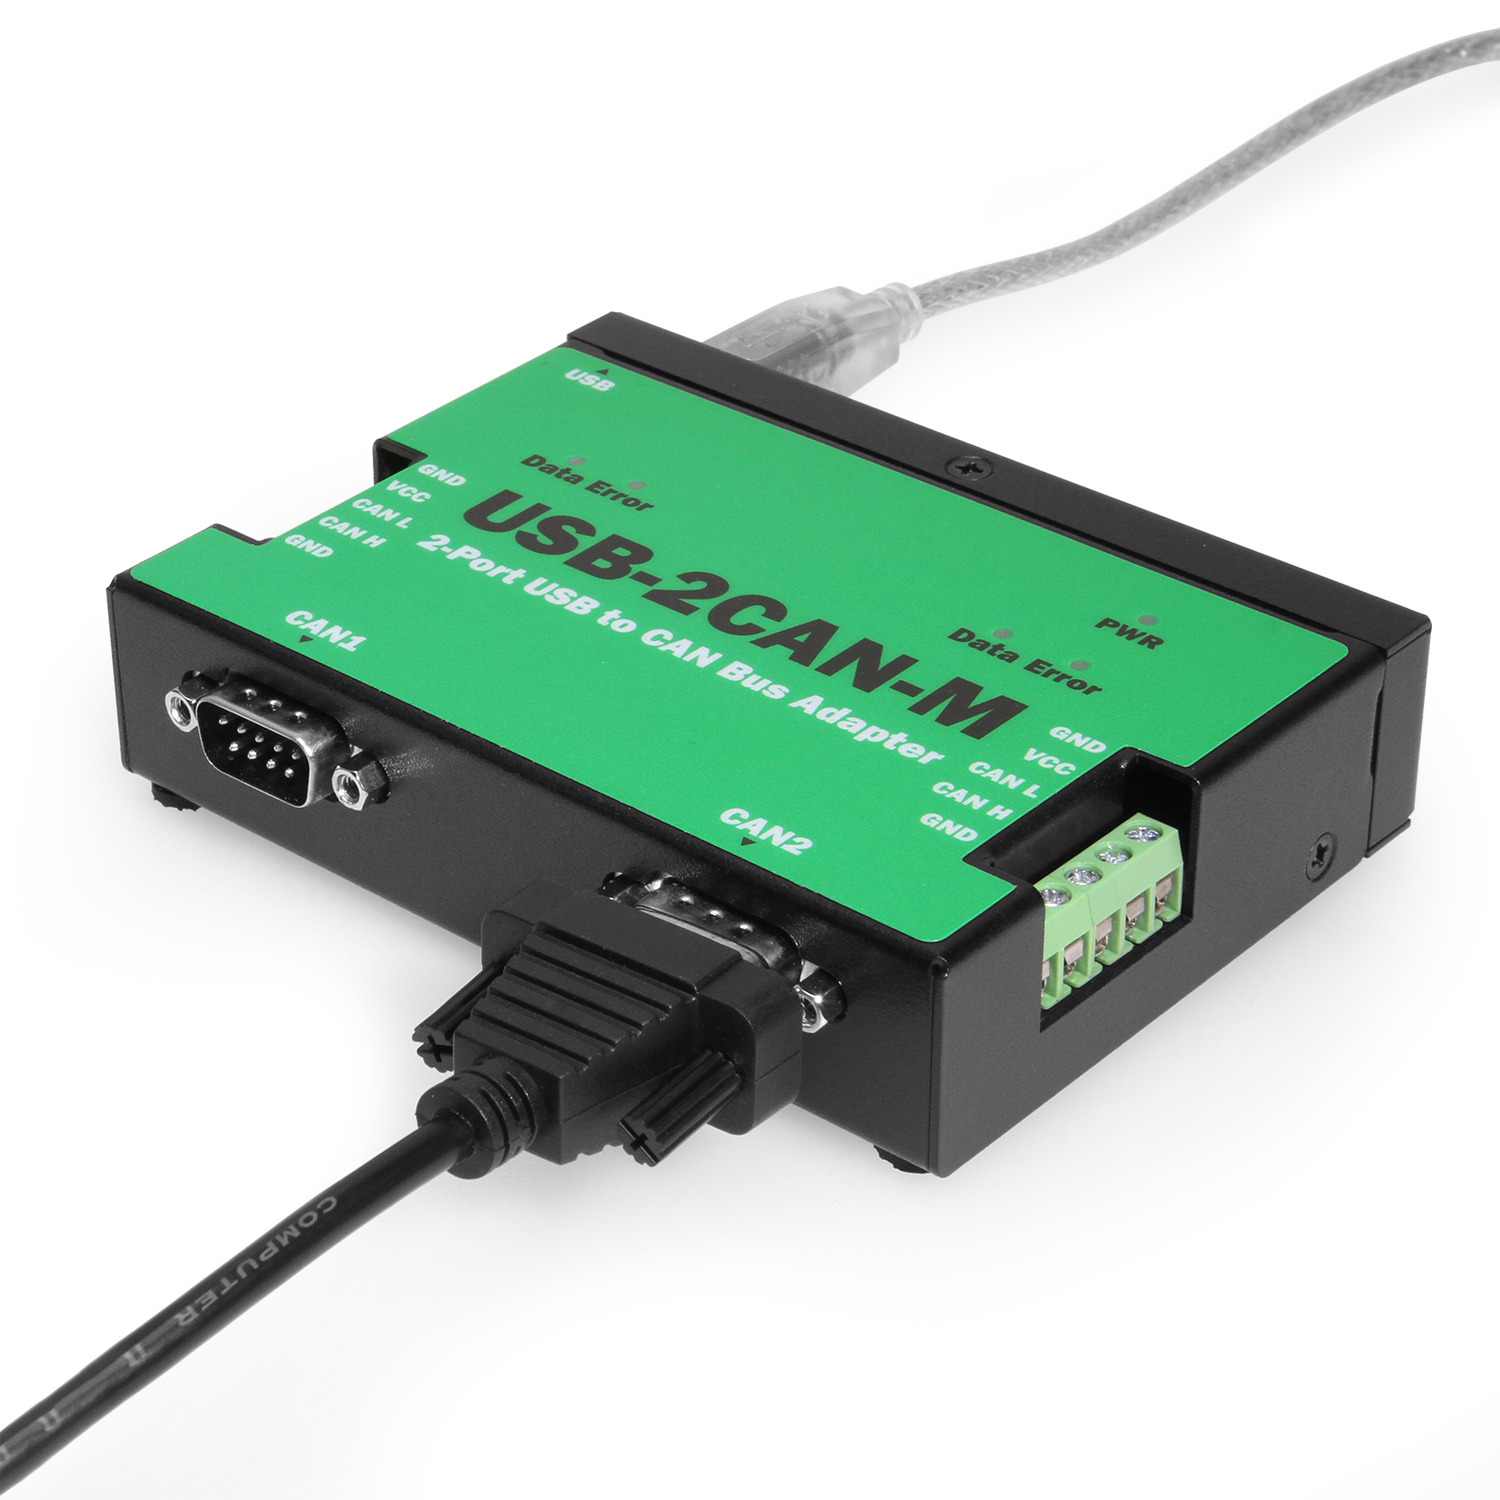
The USB-2CAN-M provides a cost-effective solution for customers to enable communication with CAN bus devices. The solution designed using an ARM Cortex-M0 32-bit micro controller and the USB to serial chip makes it very flexible in handling small burst of CAN frames at a high speed.
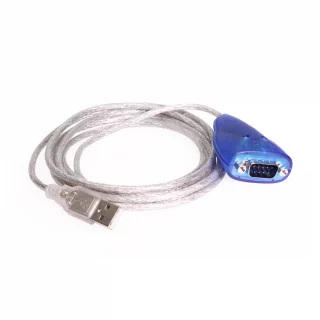
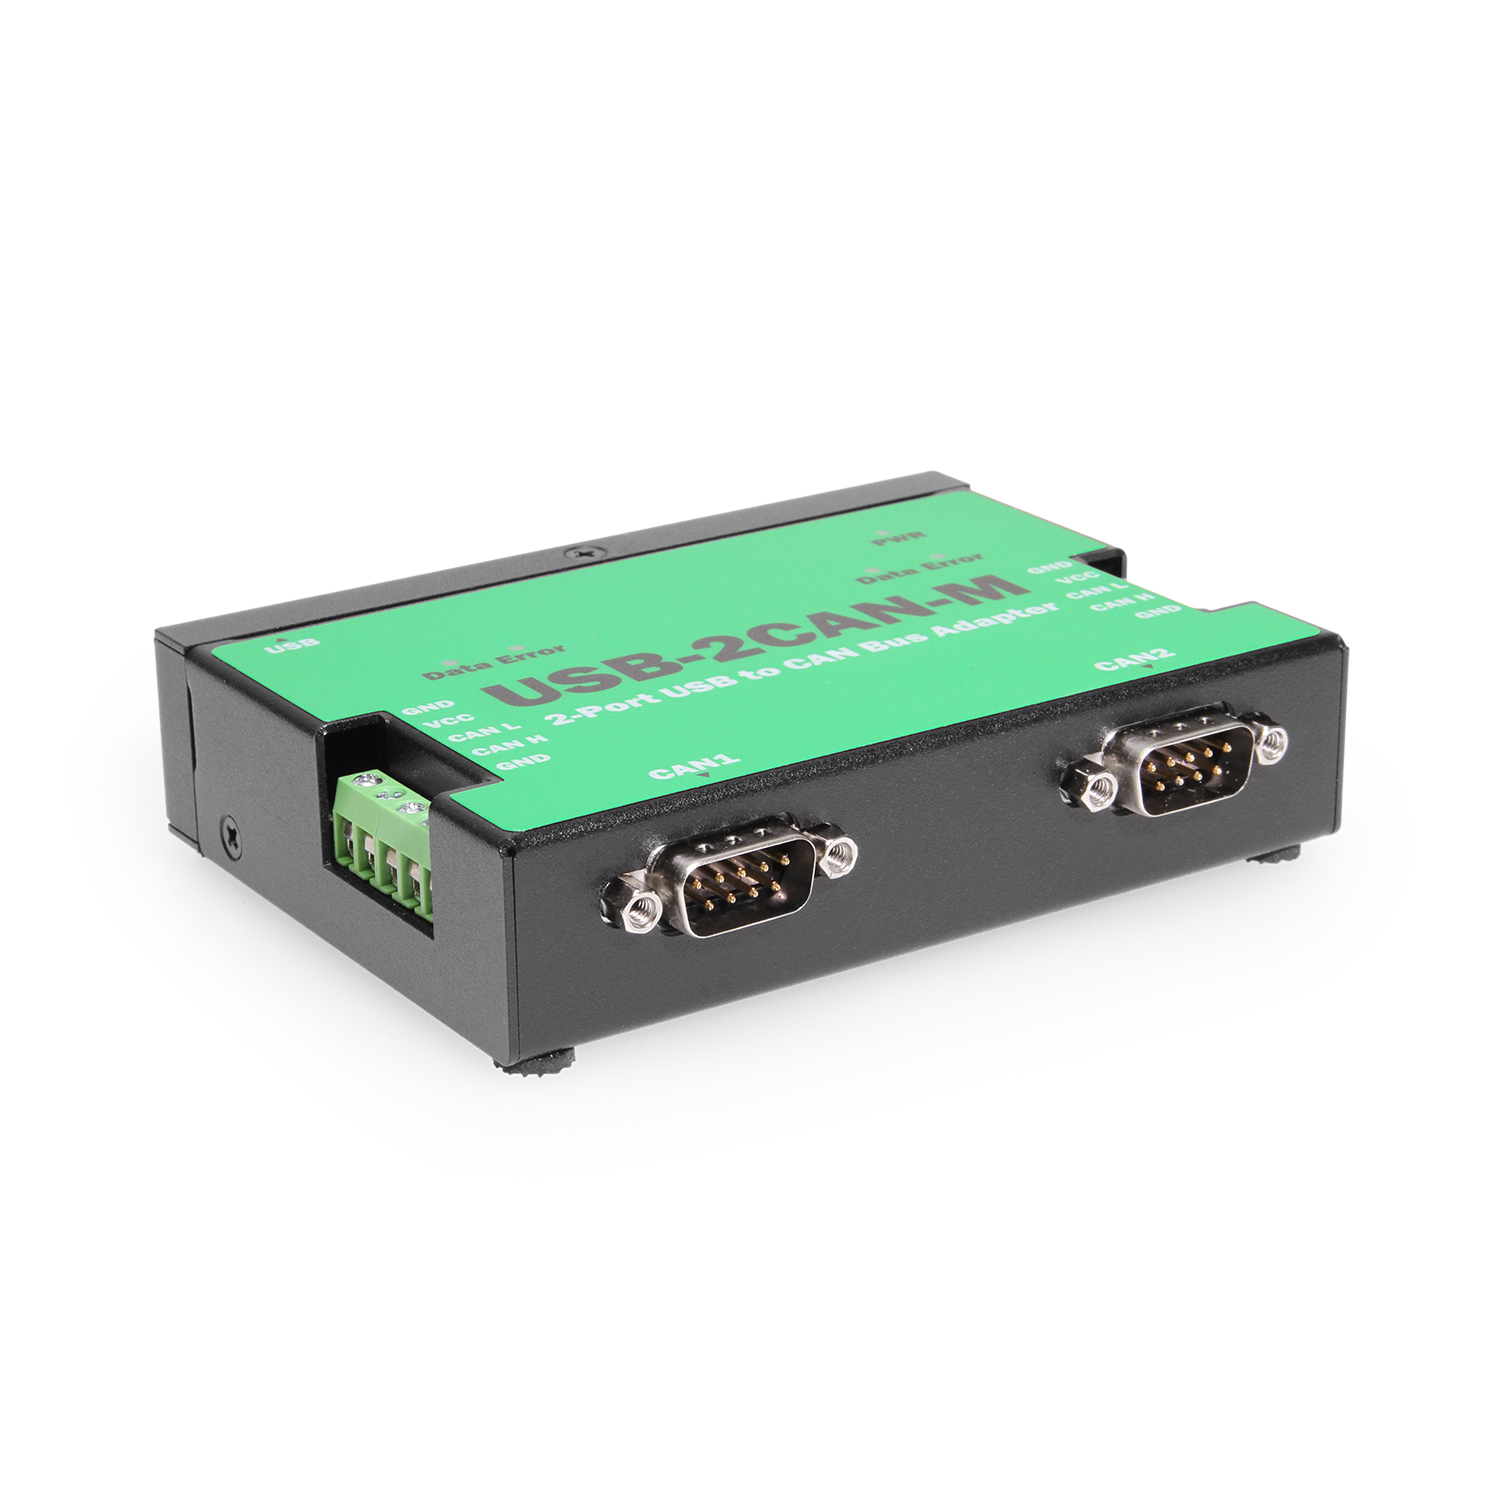
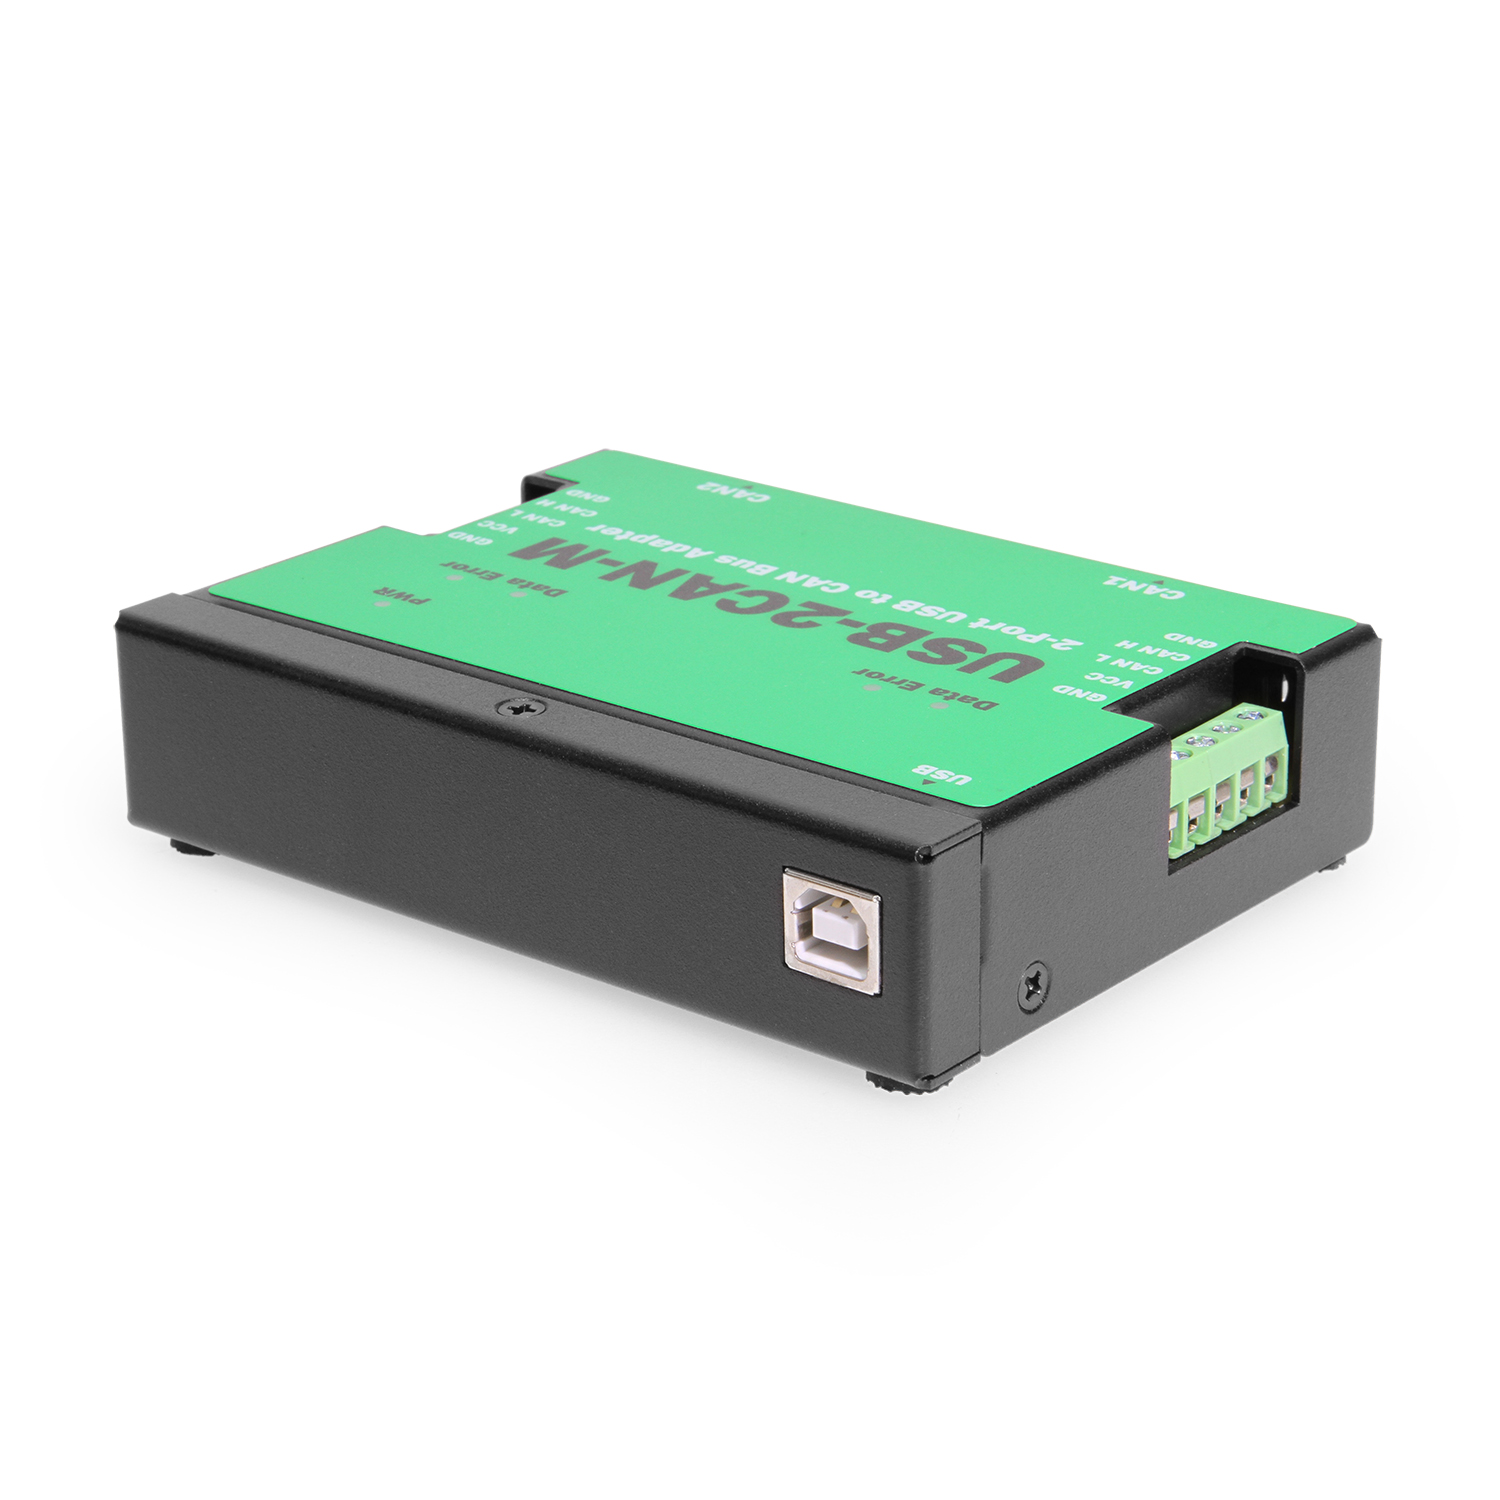
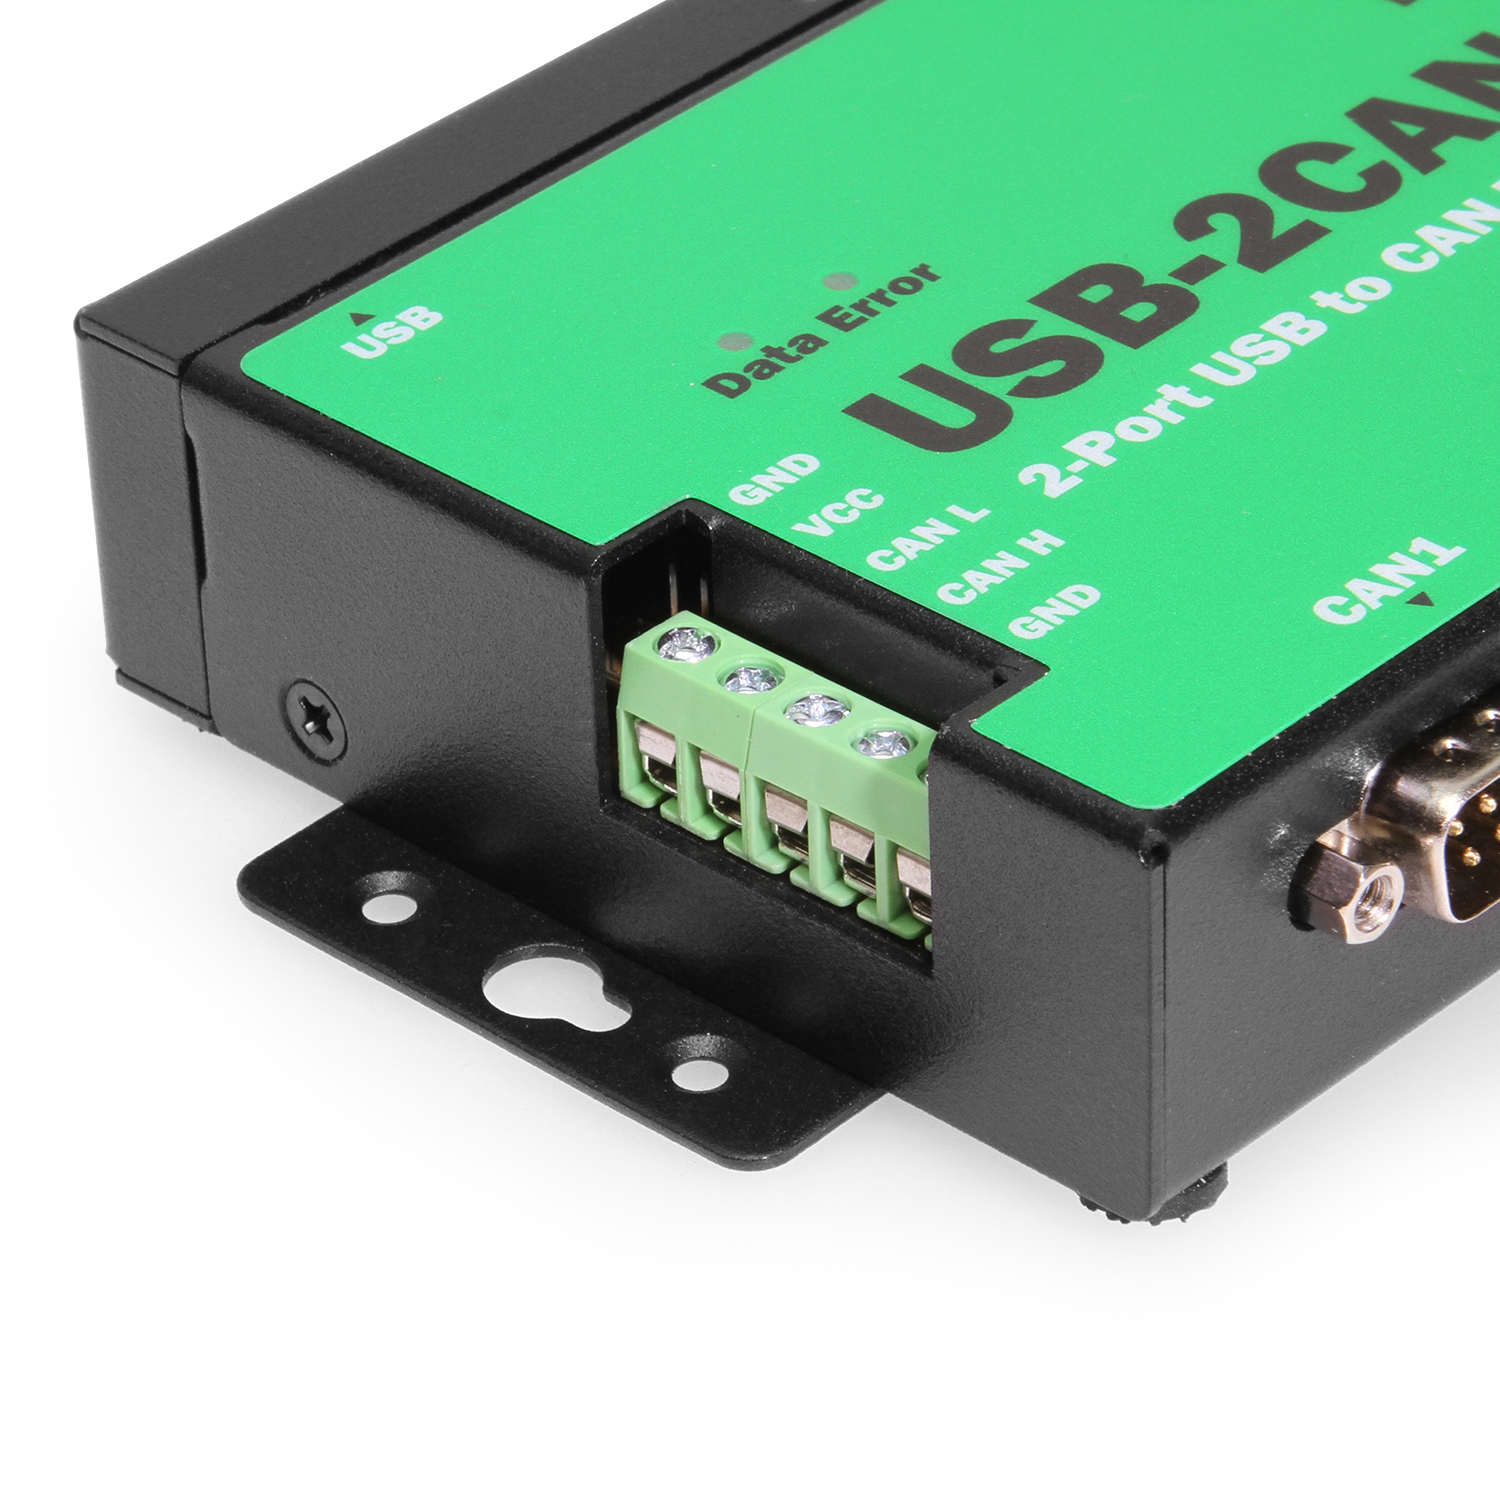
A Controller Area Network (CAN) is a high-integrity asynchronous serial bus system for networking intelligent devices. It is often used in automotive and industrial systems.The USB-2CAN-M is designed to make a fast, simple way to communicate with CAN bus devices. Connected to a USB port on your computer or USB hub, the USB-2CAN-M instantly adds two industrial CAN bus channel to your host system with easy plug and play (PnP) and hot plug features.
The USB-2CAN-M provides a cost-effective solution for customers to enable communication with CAN bus devices. The solution designed using an ARM Cortex-M0 32-bit micro controller and the USB to serial chip makes it very flexible in handling small burst of CAN frames at a high speed.
The USB-2CAN-M provides DC 5V 100mA power for external devices.
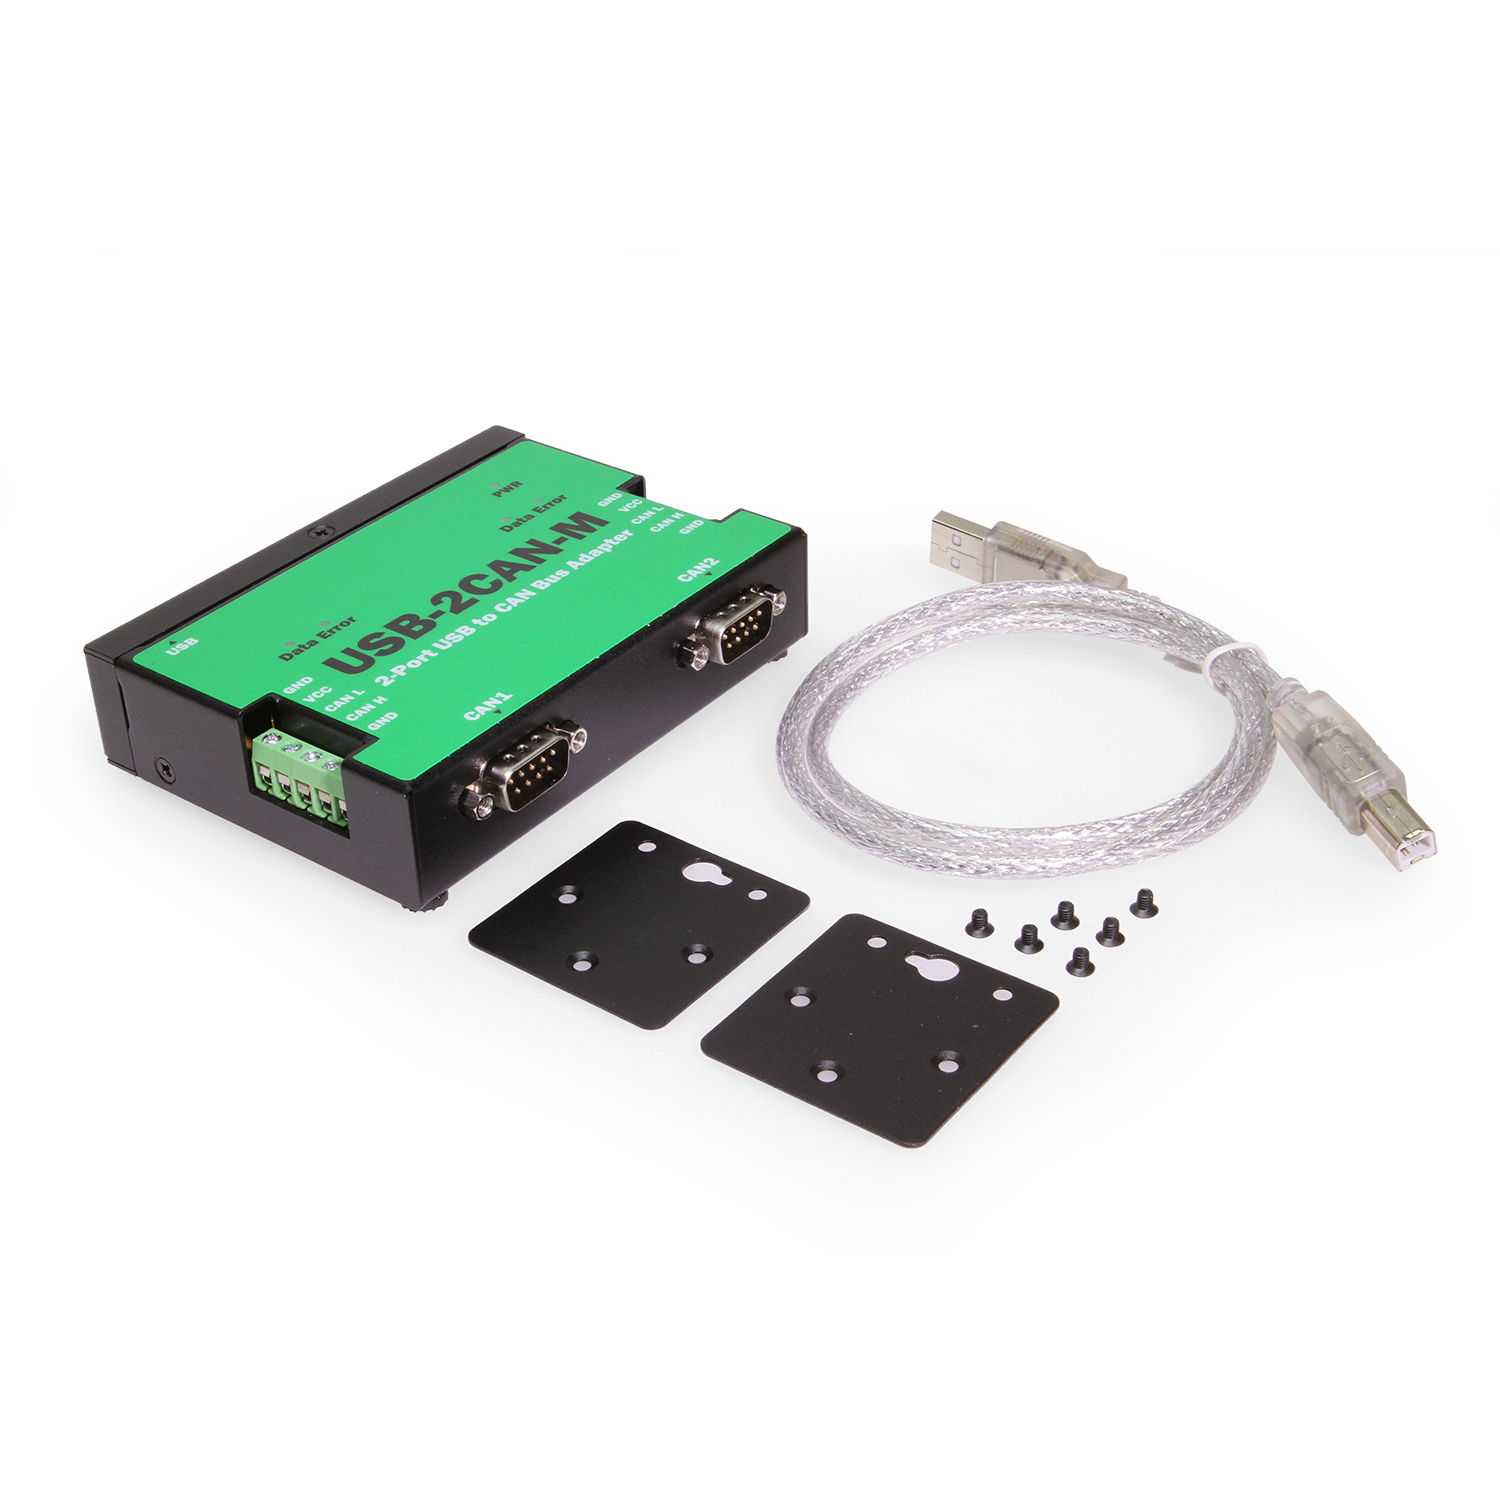
*Surface Mounting screws not included.
| Compliance |
| ||||||||
|---|---|---|---|---|---|---|---|---|---|
| Physical Characteristics |
| ||||||||
| Serial Attributes |
| ||||||||
| Software |
| ||||||||
| Hardware |
| ||||||||
| Other Data |
|
View frequently asked product questions below. For all serial troubleshooting, visit this page.
Still need help? Reach out!
Test your components by:
When testing cables:
When testing serial ports and devices:
Note: You are required to restart your computer after disabling the Driver Signature Enforcement. Save all open work on your computer.
Disable driver signature enforcement:
When your system restarts:
When your computer restarts, Driver Signature Enforcement will be disabled and you can install the drivers.
Note: You are required to restart your computer after disabling the Driver Signature Enforcement. Save all open work on your computer.
Disable Driver Signature Enforcement:
After your computer restarts:
When your computer restarts, Driver Signature Enforcement will be disabled and you can install the drivers.
Once the driver/software is installed, follow these steps to allow the software:

Model# USB-16COM-RM
$491.99In stock

Model# USB-8COMi-M
$333.99In stock

Model# USBG-2COMi-SI-M
$221.99In stock

Model# USB2-8COM-M
$227.99In stock

Model# USBG-COMi-M
$87.49In stock

Model# USB-8COM
$209.49In stock

Model# USB-COMi-SI-M
$138.99In stock

Model# MSD-SRF2XM
$197.99In stock
Need help with a Coolgear product you’ve purchased? Get product support from our on-site engineers.
Contact our sales team for assistance before you buy a Coolgear product.


Reviews
There are no reviews yet.