


Features:
USB Type-C PD Chargers
USB Type-A Chargers
Multi-Port USB Chargers
Integration-Ready Charging PCBAs
$22.99
Expected Availability Date: July 31, 2026
Not in stock - Backorder allowed
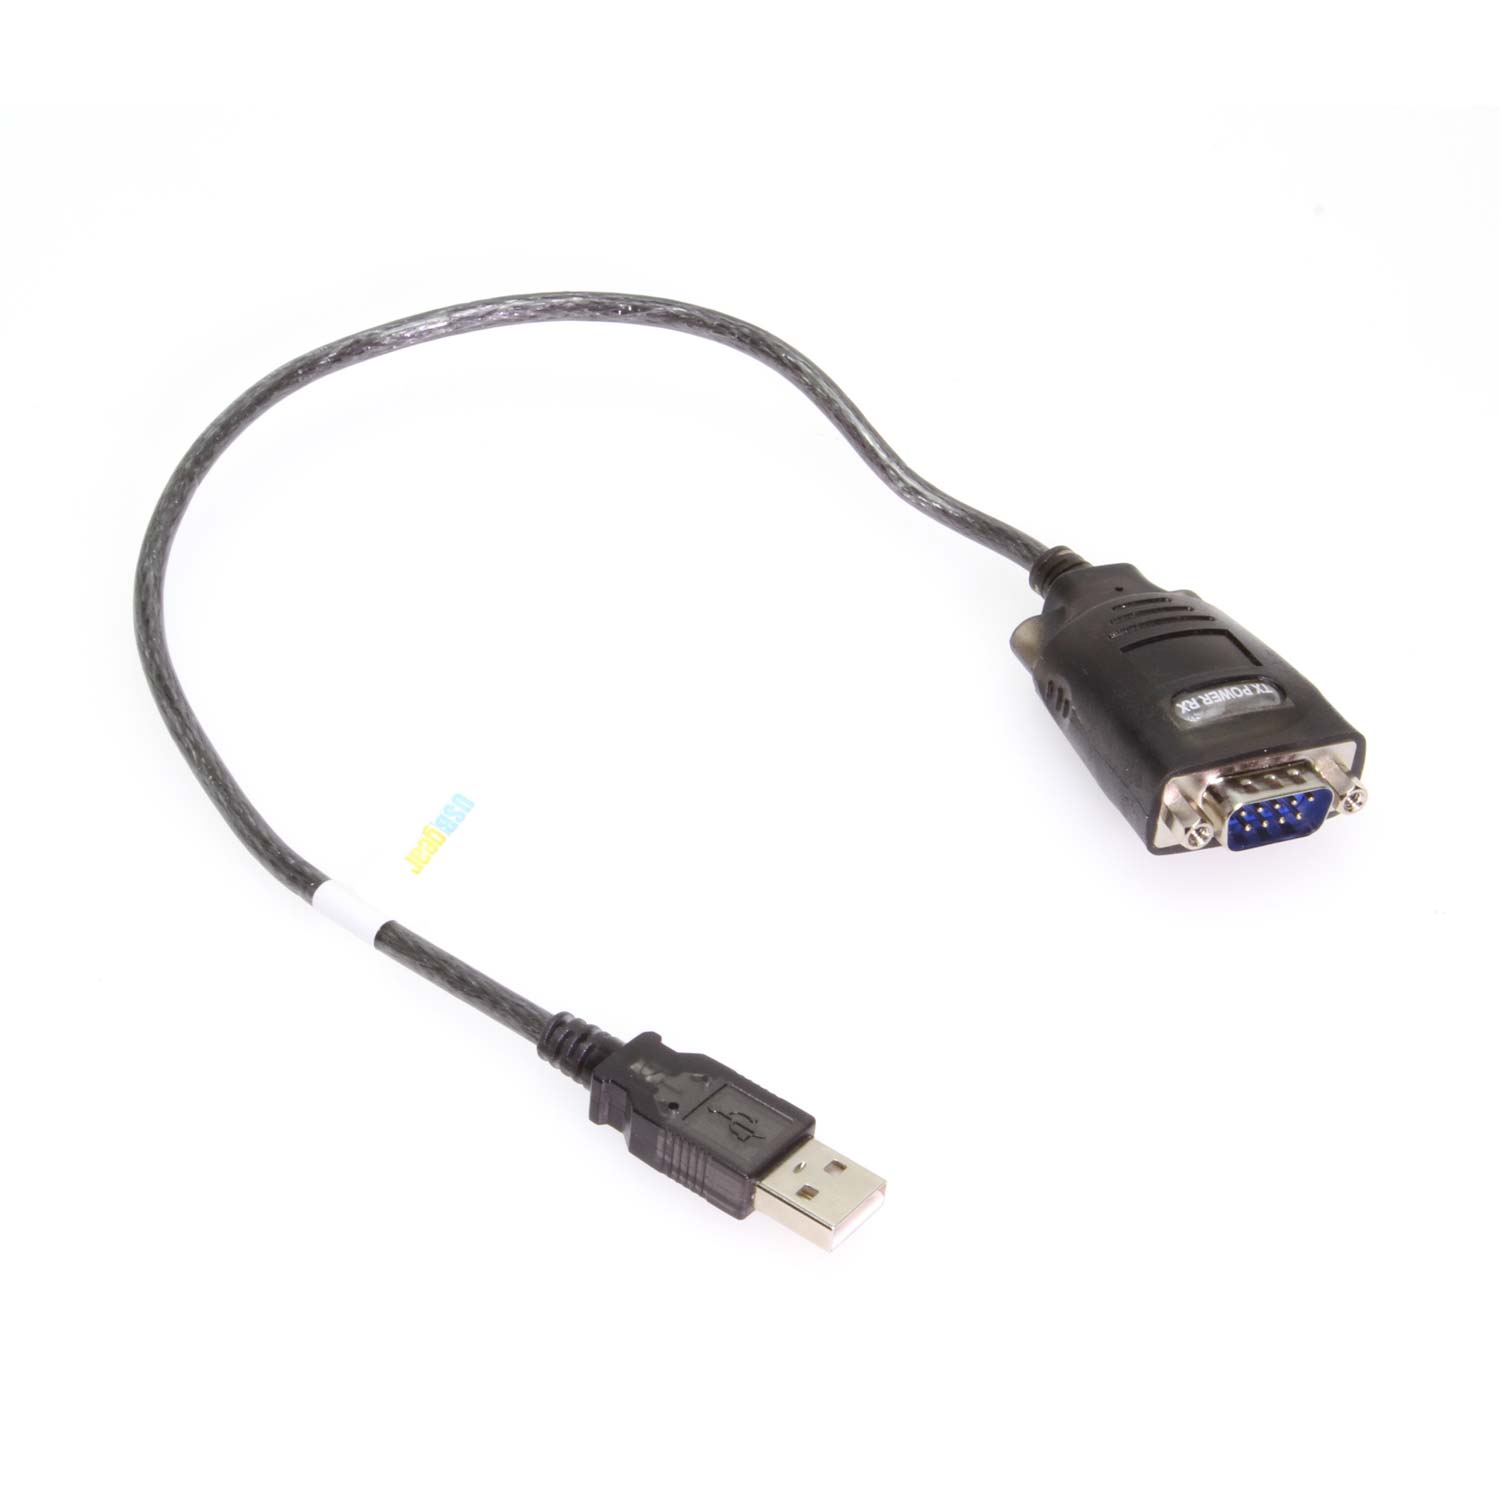
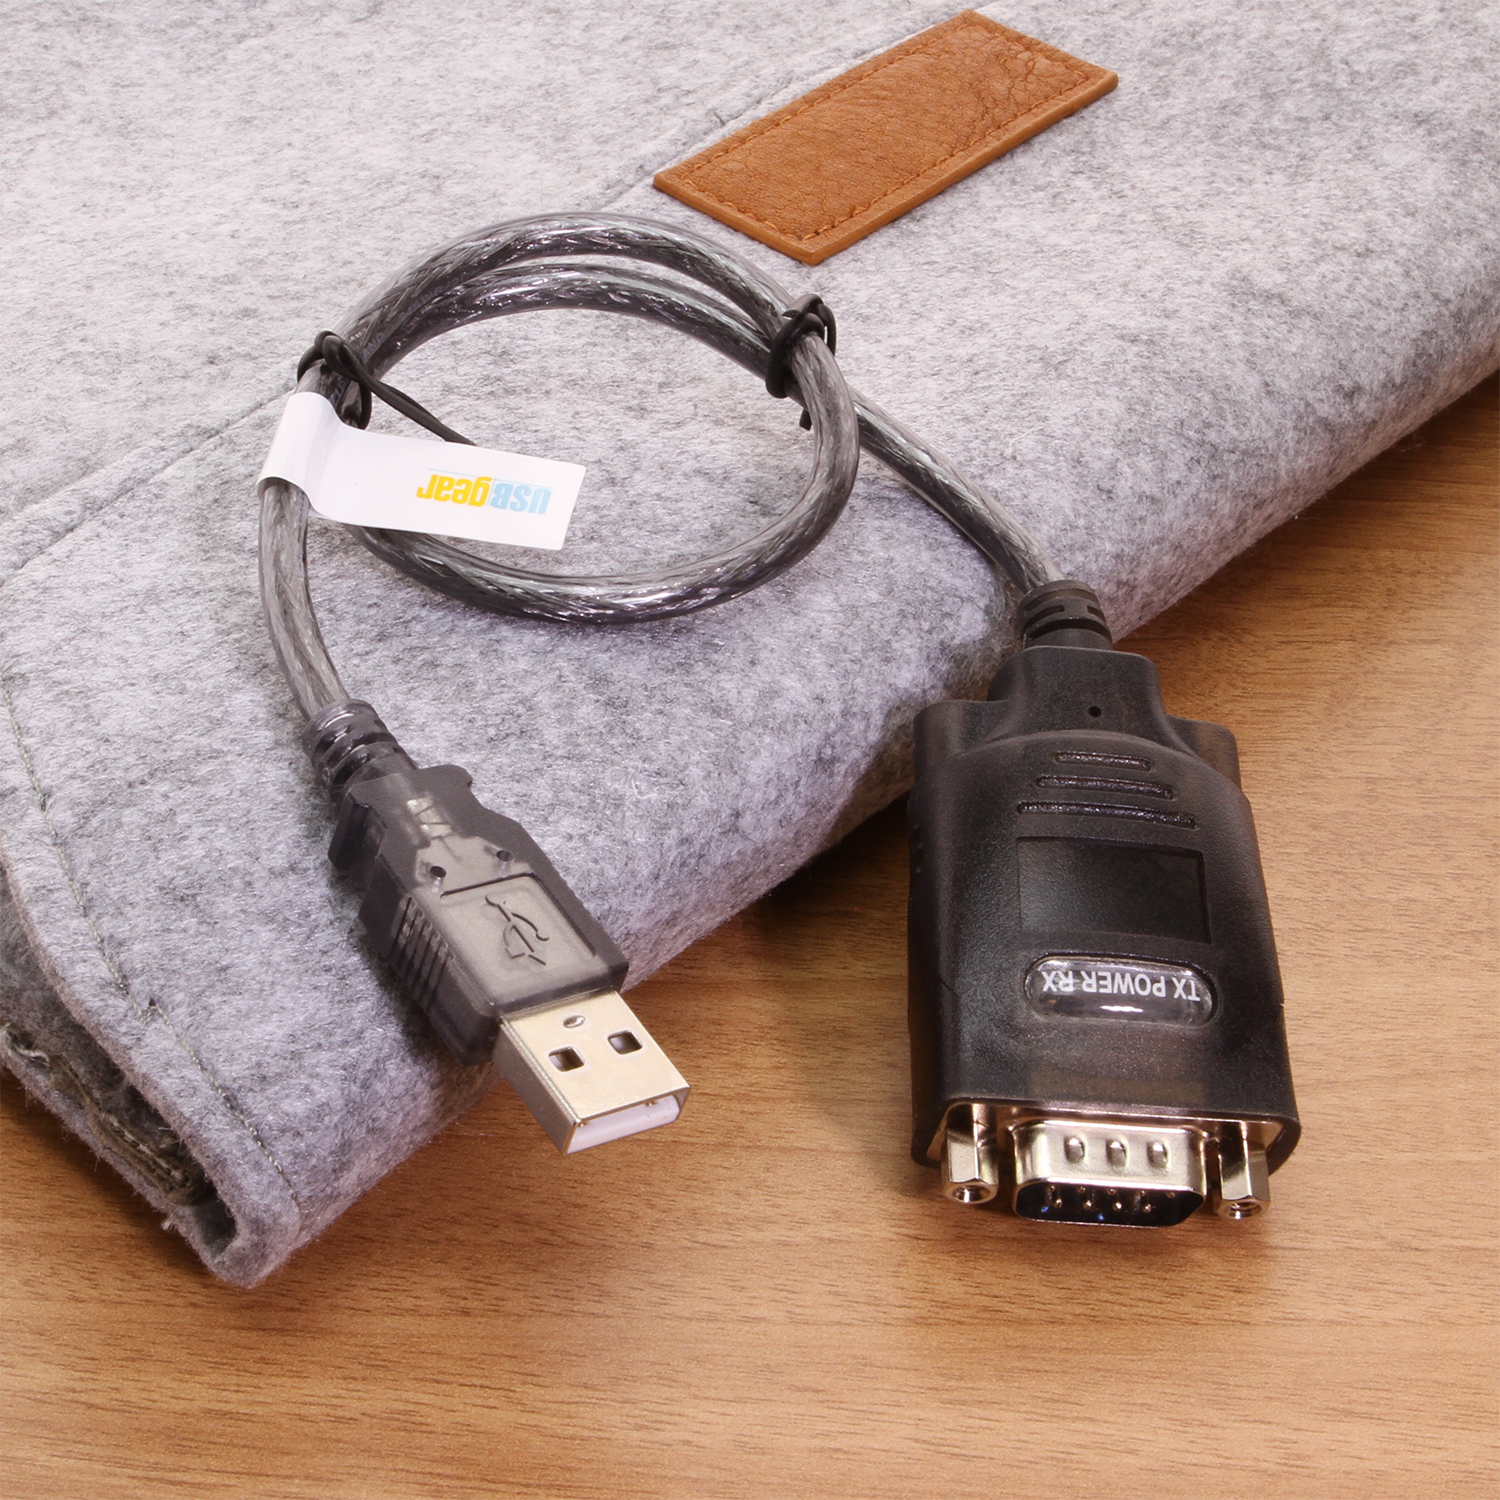
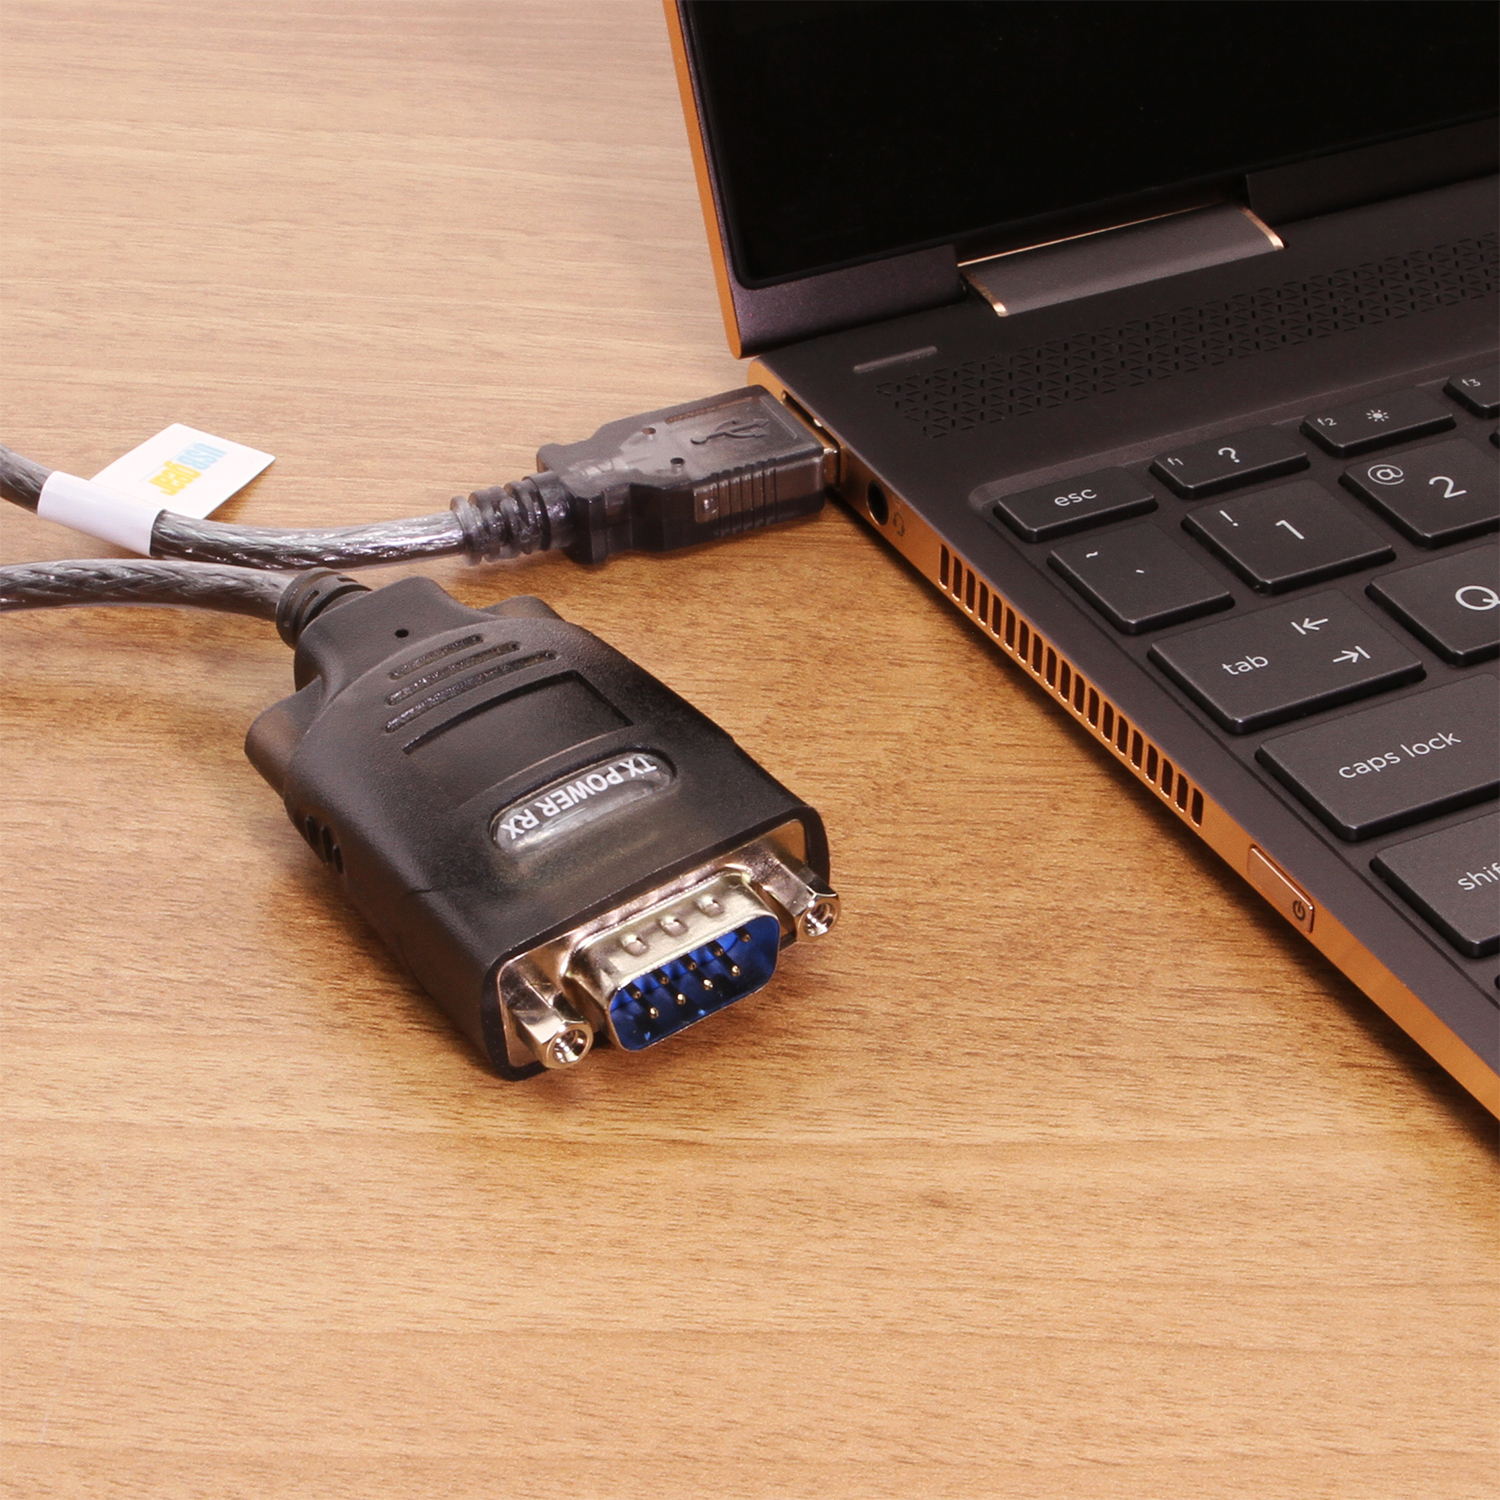
The CG-RS232-F12 USB DB-9 Serial High-Speed Adapter is perfect for Laptop, Desktop, and Mobile Computer users that require an RS-232 converter for serial connection without the extra cable length. This USB DB-9 Serial RS-232 converter cable features RX/TX and Power LEDs that utilize the FTDI Chipset. Want to connect your GPS to your PC but don’t have a 9-pin serial port connection? This cable will do what you need! Using this converter cable and the host USB PC interface for your application, you can transfer your travel information between Map Source and your GPS.
Connect any serial device to a USB port with this HP USB to Serial DB9 Adapter. It features USB Type A to 9-pin serial adapter! This USB to RS-232 converter Serial Cable provides you the simplest way to attach your Notebook or Desktop computer to a serial modem, mouse or PDA cradle. It features Plug and Play capabilities for your peripherals such as: PDA Cradles, modems, mice, card readers, barcode readers, label writers, digital cameras, security systems, fingerprint verification and more.
| Compliance |
| ||||||||||||||||||||
|---|---|---|---|---|---|---|---|---|---|---|---|---|---|---|---|---|---|---|---|---|---|
| Physical Characteristics |
| ||||||||||||||||||||
| Serial Attributes |
| ||||||||||||||||||||
| What's in the Box |
| ||||||||||||||||||||
| Software |
| ||||||||||||||||||||
| Product Information |
| ||||||||||||||||||||
| Hardware |
| ||||||||||||||||||||
| Performance & Safety |
| ||||||||||||||||||||
| Other Data |
|
View frequently asked product questions below. For all serial troubleshooting, visit this page.
Still need help? Reach out!
Most of our single and dual-port models are USB bus-powered. High-density rackmount models (8-port+) feature integrated or external power supplies for maximum signal integrity.
Isolated adapters use optical barriers to physically separate the electrical signals. This protects your computer from 2,500V surges and ground loops common in factory environments.
Yes, all Coolgear Serial adapters use modern FTDI or Silabs chipsets with WHQL-certified drivers for full Windows 11, Mac, and Linux support.
COM Port Retention ensures that your assigned COM port number remains the same every time you plug in the adapter or reboot your PC. This prevents software communication errors and eliminates the need to manually reconfigure your application settings whenever hardware is moved.
Test your components by:
When testing cables:
When testing serial ports and devices:
Note: You are required to restart your computer after disabling the Driver Signature Enforcement. Save all open work on your computer.
Disable driver signature enforcement:
When your system restarts:
When your computer restarts, Driver Signature Enforcement will be disabled and you can install the drivers.


Model# USB-COMiPLUS
$70.49In stock

Model# USBG-COM-SI-M
$114.99In stock

Model# USB-4COMi-M
$211.99Out of stock

Model# USB-32COM-RM
$706.49In stock

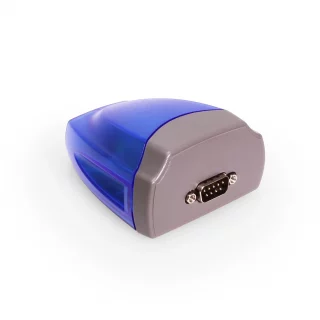
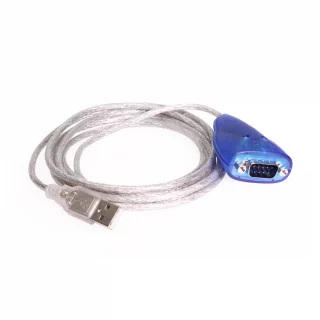
Model# USBG-232MINI
$27.29In stock

Model# USBG-2COMi-SI-M
$221.99In stock

Model# USB-4COMi-SI-M
$409.49In stock

Model# USB2-8COM-M
$227.99Not in stock - Backorder allowed
Need help with a Coolgear product you’ve purchased? Get product support from our on-site engineers.
Contact our sales team for assistance before you buy a Coolgear product.


MN Tech Support –
I am using this as a reverse telnet cable from a router to a console port.
Driver install was easy. The status lights of power, RxD, and TxD are great for identifying device issues.